Last updated on: June 11, 2026
If you’re anything like me, you’ve probably had moments where your lips felt dry, flaky, or just… blah. No matter how much lip balm you apply, it sometimes feels like your lips just refuse to behave. That’s exactly why I got curious about DIY lip scrubs. I kept seeing them all over TikTok and Pinterest, and people swore they made their lips softer overnight. So I finally told myself, “Okay, let’s see if this actually works.”
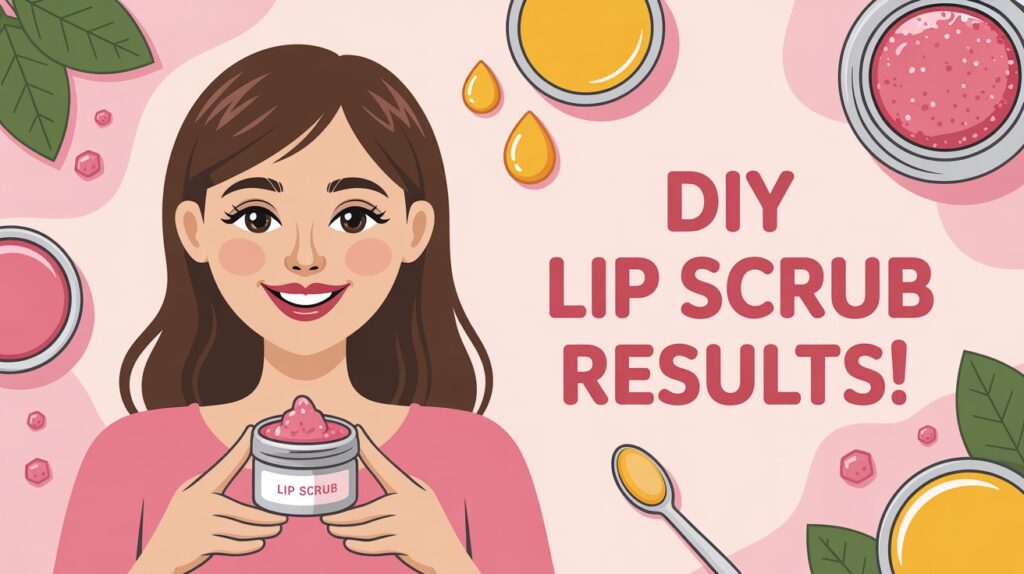
I tried different DIY lip scrubs for two weeks, and let me tell you — the results surprised me way more than I expected. If you’ve been wanting smoother, softer, naturally plump-looking lips without spending $$ on fancy products, this little experiment might be exactly what you need.
Why I Even Tried DIY Lip Scrubs
My lips usually get dry fast, especially when the weather changes. Sometimes lipstick looks patchy, and tinted balms don’t even blend well. Instead of buying yet another lip product, I wanted to see if something simple and homemade could make a real difference.
Also, I liked the idea of using things already in my kitchen. It felt fun, cheap, and a little bit like self-care.
Why Our Lips Get Dry (Explained Simply)
Our lips don’t have oil glands like the rest of our skin, so they dry out easily. Add in things like:
-
licking your lips
-
wearing matte lipstick
-
cold weather
-
dehydration
…and suddenly your lips are begging for help. Exfoliating them gently can remove dead skin and help your lip balms work better. But the keyword here is gently — something I learned the hard way.
The DIY Lip Scrubs I Tried
I tested four different scrubs during these two weeks. Each one had a different vibe and a different purpose. All of them are super easy to make — you probably already have the ingredients.
1. Brown Sugar + Honey Scrub
This is the classic. Everyone and their best friend has tried it, so I started here.
-
Ingredients: 1 tsp brown sugar + 1 tsp honey
-
Texture: Soft, sticky, gentle
-
Why I liked it: It felt comforting and hydrating
-
What I expected: Softer lips and less peeling
This one felt like the safest and sweetest way to start the experiment.
2. Coffee Grounds + Coconut Oil
This one looked intense, and it was.
-
Ingredients: 1 tsp fine coffee grounds + 1 tsp coconut oil
-
Texture: Gritty
-
Why I tried it: People said it’s great for stubborn flakes
-
What I expected: Smoother lips
I was excited but also nervous because coffee grounds can be harsh.
3. Beetroot Powder + Sugar + Oil
You may have seen this trending online. It gives your lips a natural pink tint while exfoliating.
-
Ingredients: ½ tsp beetroot powder + 1 tsp sugar + ½ tsp oil
-
Texture: Slightly sandy
-
Why I tried it: I wanted that pretty natural tint
-
What I expected: Soft lips with a light rosy color
This one felt the most “beauty-hack” out of all of them.
4. Cinnamon + Honey Scrub
This one promises a slight lip-plumping effect.
-
Ingredients: A pinch of cinnamon + 1 tsp honey
-
Texture: Smooth with a slight tingle
-
What I expected: A tiny plump and smooth feel
I was curious but careful, because cinnamon can irritate sensitive lips.
How I Used Them
I didn’t exfoliate every day. That’s too much. I did it every other day, usually at night.
My routine:
-
Apply the scrub on my lips.
-
Massage gently for 20–30 seconds.
-
Rinse off.
-
Apply a basic lip balm or petroleum jelly.
I also drank more water during these two weeks because hydration makes a huge difference.
Week 1: The Early Changes
By day three, I could already tell something was happening. Here’s what I noticed:
1. Less Flakiness
The sugar-honey scrub helped remove dry skin without irritation. My lips felt smoother, especially when I applied lipstick.
2. Softer Texture
The beetroot scrub didn’t just tint my lips — it left them soft and slightly glowy. I loved how natural the color looked.
3. A Few Mistakes
I used too much pressure with the coffee scrub on day four and my lips felt a little sensitive afterward. That’s when I learned to take it slow. Exfoliation is not a race.
Week 2: The Real Transformation
By week two, I honestly couldn’t believe how good my lips looked.
1. My Lips Looked Healthier
The dryness was gone. No peeling, no rough patches — just soft lips that looked naturally smooth even without lip balm.
2. Lipstick Applied So Much Better
Usually, matte lipstick shows every crack, but now it glided on like a dream. Even simple tinted balms looked better.
3. The Best Scrub (My Favorite One)
The winner for me was…
Brown Sugar + Honey.
It was gentle, safe, and gave the best results long-term. The beetroot one was a close second because of the pretty tint.
The coffee scrub was great but needed a super-light hand. And the cinnamon scrub worked, but I wouldn’t use it more than once a week because the tingling can get too much.
What I Learned
Two weeks of DIY lip scrubs taught me more than I expected.
Gentle is key
You don’t need harsh scrubbing. Light circular motions are enough.
Hydration matters a LOT
Drinking water and using lip balm make the results last longer.
Not all ingredients work for everyone
If you have sensitive lips, avoid cinnamon or anything too gritty.
DIY can actually work
I didn’t expect homemade scrubs to make such a big difference, but they did.
Expert Tips I Picked Up
I checked a few dermatologist recommendations to make sure I wasn’t harming my lips.
-
Exfoliate only 1–3 times a week
-
Avoid lemon or anything too acidic
-
Avoid salt (too harsh for lips)
-
Always moisturize right after scrubbing
-
Look for lip balms with shea butter, ceramides, or squalane
These tips helped me get better results without irritation.
My Final Verdict
If you’re thinking about trying DIY lip scrubs, I honestly recommend it. It’s simple, cheap, and the results are quick. Your lips can look smoother, softer, and healthier without expensive products.
Just remember:
-
Don’t scrub too often
-
Stay gentle
-
Stick to safe ingredients
-
Keep your lips hydrated
After two weeks, my lips looked brand new — and I loved that I made everything at home in just a few minutes.
My Go-To Simple Recipe
Here’s the scrub I’ll keep using:
Brown Sugar Lip Softening Scrub
-
1 tsp brown sugar
-
1 tsp honey
-
Mix and gently scrub for 20 seconds
-
Rinse and apply lip balm
It’s sweet, gentle, and works every time.